Tuesday, March 12, 2013

Super Girly Quilt

Our house does not have a basement because of the high water table in our neighborhood. I still think of our ground level as a basement, because we keep it kind of dark and it is cold year round. Three months ago I realized I use Alan's flannel quilt a lot more than he does, mostly because I spend more time downstairs. This worked out fine of course, but I decided that is was time to make a quilt for me. One could argue that most of the quilts I've shown on this blog were for me, which is true, but they are for the wall, not for use.

I told a friend at work that I decided to make a flannel snuggle quilt for me, she asked if it would be a University of Utah quilt since I made a BYU quilt for Alan. (I think it was sweet of Alan to fall in love with me even though I attended his biggest rival's school.) I laughed at the idea because I made Alan the BYU quilt because he loves BYU football. I'm not going to make a U of U quilt because I just don't care. I did have a great experience there, but I'm done. Well, as soon as my loan is paid off later this year, I'll be done for good. ( I just want to interject here how I think it is hilarious how the PAC 12 thought they could tell U of U fans that they are no longer rivals with BYU, but with a team in the same conference. As if a rivalry can be dictated. Rivalries are emotionally driven, it isn't a cold, calculated decision. Alan spends a lot of time on a BYU sports chat board and it gets trolled by U of U fans all the time so clearly the rivalry isn't over.) Anyway, I decided to make a quilt I would actually want.

I went to Jo Ann's on an extremely busy sale day (not on purpose) but I found a whole bolt of a cute brown paisley flannel for $20 so I stood in that really long line and bought it. I came up with the design a few weeks later and bought more flannel to flesh out the design.

I made sure to add lots of birds and hearts,

with doves for peace,

and love.
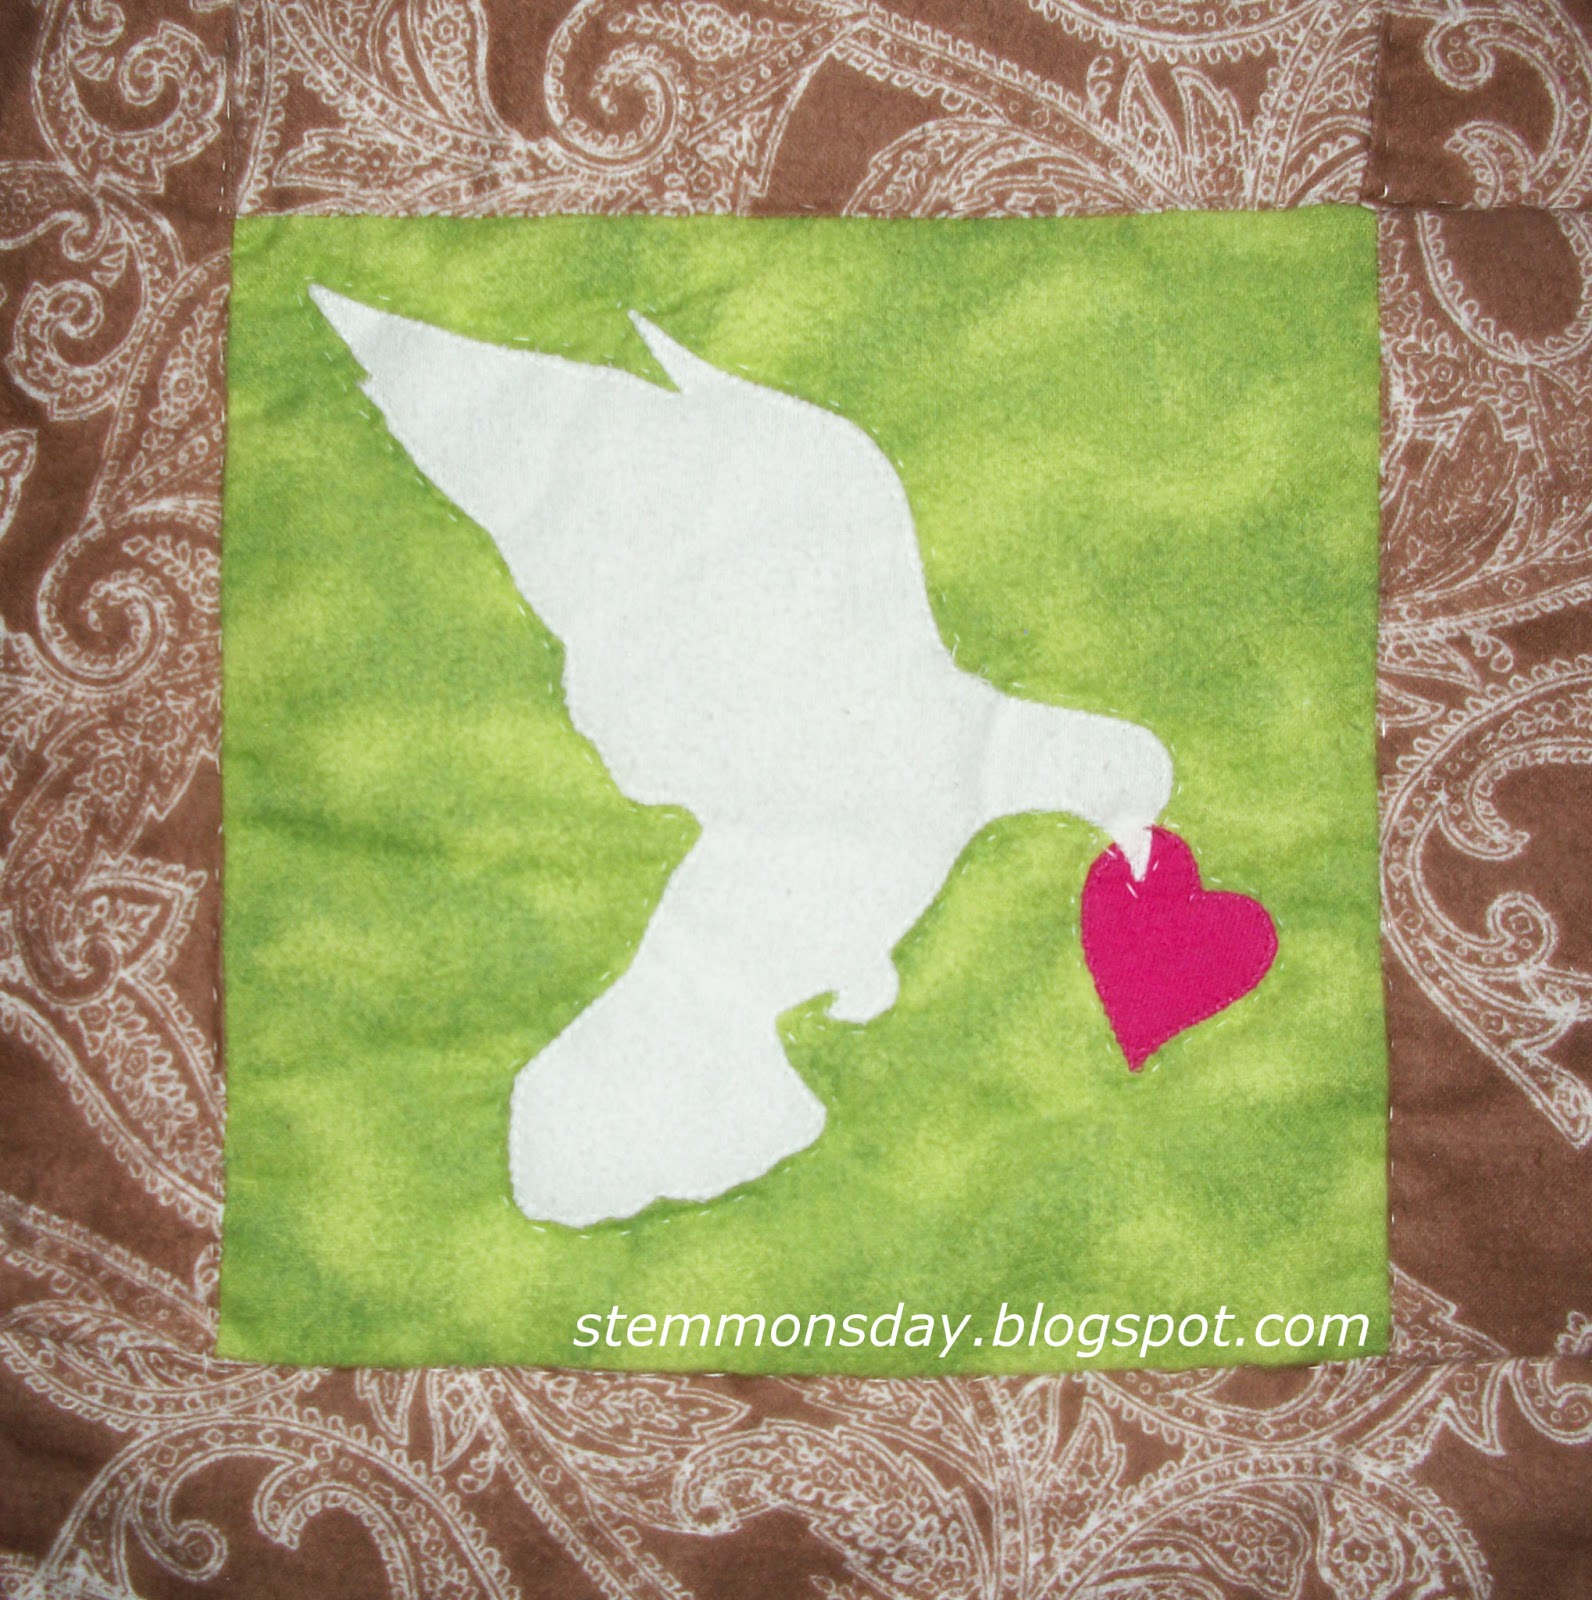

I added my favorite flowers:
magnolia for creativity,

iris for spirituality,

daisy for friendship,

and rose for love and family.

 I added a floral wreath and a tree just because they make me happy.

The finished quilt is 60 x 67 inches

I chose the colors to be deliberately girly. I don't really have a favorite color anymore, but I have always liked pink and green together. The flannels I used are all good quality except for the white. The white appliques started fraying right away and I fear, will disintegrate after the first wash. I took lots of pictures, in case the quilt looks well loved a little too soon. I may take some steps to preserve it, but nothing too drastic since I make quilts to be used up and worn out. If I wear this one out, I'll have an excuse to make a new one.

Next time: Pumpkins, Crows, and an applique pattern ( I mean it this time).

Tuesday, March 5, 2013

Football Love Quilt


The man I love, loves football. I mean really loves football. He fortunately doesn't love all football, just Brigham Young University football. I have learned a lot about the sport since we've been together. I just didn't care before, in fact I found it boring. Lets face it, the teams kick the ball, spend a few seconds running around, then stop reset, hike, spend a few seconds moving, stop reset, and so forth. All the stopping and starting always felt pointless and couldn't hold my attention long enough to catch my interest. Alan spent some time tutoring me on plays and terminology when I explained I didn't even know what a "down" was. I do understand more about football games now and can even watch a whole game without rolling my eyes. I still don't love watching televised games, but I really do enjoy attending live games with Alan. Fortunately Alan is well versed enough he can give me my own personalized running commentary (when he isn't yelling at the refs) where he explains what is happening on the field. ( I never can understand the announcers at live games, echo, echo, echo.)

When we were engaged, I didn't have any money to spend on a Christmas present for Alan. He really loves technology related gifts, but those all cost money. I had some blue fabric, but only scraps. I designed a quilt big enough to wrap around two people to keep warm at a football game. I didn't have a lot of free time either, since our engagement was all of two and a half months and Christmas was three weeks before our wedding. I managed to finish the quilt top in time to wrap for Christmas.

 I didn't actually stitch the quilt with a batting and a back until the next November. I got a fancy Grace quilting frame (which I had never even seen anyone use before) with our tax refund. I assembled it myself, but I had a mental block on how to get a quilt on the frame so it sat there for six months before I finally enlisted Alan's help to get the thing started. I needed his help for about five minutes before it all clicked and I was able to proceed. The football quilt was the first to get stitched on my frame.


There are five different blue fabrics used on this quilt since I had to scrounge to find enough non girly fabric. the four large rectangles and the Y are a waffle knit, the light blue center is flannel, and the white is all from an old bed sheet. I used fusible webbing to place the lettering around the sides and football corner detail. I didn't use it on the Y, I just pinned it down and stitched around it old school style. I was able to afford new fabric by the time I got around to the quilting, so I bought a nice navy flannel for the back of the quilt. I quilted it with navy blue crochet thread. I thought of it as a compromise between tying the quilt with yarn and quilting with thread. I also thought the crochet thread might be easier to use than quilting thread. (It was actually quite difficult to pull through the fabric layers, but it made for an interesting look.)


When I photographed the quilt it was already a couple years old and had been laundered multiple times. The colors are holding up well, but it does look slightly warped and pretty wrinkly. This is from mixing knits with woven fabrics and because the white fabric had been laundered so many times before use that it didn't shrink at all, where the other fabrics shrank a little ( and yes I did pre wash them this time.)

The finished quilt is 66 x 66 inches

Next time: a snuggle flannel quilt of my own.

Tuesday, February 26, 2013

Snowflake Quilt


Just like last week's quilts, this one had a long dormant period. I originally designed it as a wedding present for a friend getting married in December 2007 in the Bountiful Temple. I had a lot of free time at my part time receptionist job, so I passed the time by designing a snowflake that incorporated the temple and hearts. I thought this would make a good present since I had absolutely no money to buy anything.

 Temple detail shot

Cutting out the design took several steps. First I drew the whole thing on paper, then trimmed to a one sixth triangle section of the drawing. I cut that out and traced it onto a poster board for a template. Then I traced the template six times onto fusible webbing. Then I ironed the webbing onto the backside of white fabric and I cut the the whole thing out. The snowflake part of the design is all from one piece of fabric. I then cut out the orange-brown background, which is also one piece of fabric. I placed both the brown and the white pieces on the red, lined everything up and fused the different sections together with the webbing on the backside of the white fabric.

By this point I was getting a little tired of the whole thing and started to question if my friend would really want a decorative wall hanging. I decided to make her a snuggle quilt instead. (Snuggle quilts are too small for a twin, but big enough to snuggle under.) I had some red and green flannel in my stash so I made her a pieced flannel quilt. I thought it would be useful and not a burden, as art gifts sometimes are. The flannel quilt wasn't as intricate as the snowflake, so it was less of a burden on me too. ( Unfortunately I don't have a picture of the flannel quilt.)

The snowflake quilt stayed folded up and put away for years until I finally decided to finish it for myself this year. I added the green triangles to make it rectangle and hang able. Then I zigzag stitched over the whole snowflake. I quilted it with red thread and stitched around instead of over the snowflake.

The finished quilt is 31 x 36.5 inches
It can work as a Christmas quilt and a Valentine's Day quilt. It could work as an anniversary quilt too since Alan and I were married in the Bountiful temple just three weeks after Christmas.

Next time: love, snuggle quilts, and football.

Tuesday, February 19, 2013

Birds in a Bush Quilts


My next quilts were originally going to be wall art for a basement apartment in Bountiful that I shared with my friend and roommate Stephanie. Steph is a great interior designer and had wonderful ideas for our apartment. We both decided we loved birds right around the same time. (In fact it was a little scary how many things we ended up doing or liking at the same time. We often came home from work to find we were wearing matching outfits.) I started drawing birds all over my church journal. (This is a journal I take to church to take notes, but really I just use it as a sketch book.)

 I wasn't happy with any of my designs so I started to look for inspiration in my many art books. The danger of this practice is that I inadvertently steal designs. (Or in this case, blatantly steal designs.) I just loved a design I found on page 108 in An American Celebration: the Art of Charles Wysocki. It's a design with birds in a bush with a whirligig on top and a heart on the bottom. My homage to the design isn't exactly the same, I simplified some of the birds, changed all the colors, left out the top and bottom of the design, and added a couple of my own birds.

I started in good form. I drew the design on a large sheet of paper, traced it onto fusible webbing, cut out all the tiny little pieces, ironed the pieces to the back side of different fabrics, cut out the pieces from the fabric, peeled off the paper from the backside of all the pieces, then assembled it with the fabric all right side up like a collage onto the black background.(With fusible webbing you end up with a mirrored image of your original design.) I then carefully ironed all the pieces down so I could eventually sew them in place.

This sounds like and is a lot of work. I forget why I stopped there, but the design got folded up and put away for 3 years. Most likely I was a little burned out and wanted a break, and later just forgot about my project. Last Summer I pulled it out again and decided I still wanted this design on my wall. By then Alan and I were married and we had a new king sized bed with a big blank wall above it. I have always felt that blank walls are kind of hostile, so I had wanted to put a painting above our bed. Alan discouraged the idea of a heavy frame right over our heads in case of an earthquake, so I found my old abandoned wall hanging and got to work sewing around all those tiny little pieces.

The finished quilt is 24 x 25 inches

I also had two smaller companion quilts, they are inspired by the same book and were assembled the same way at the same time. They are each 17.5 x12.5 inches


I hadn't really decided how I was going to group them until I finished all the quilts. I usually hang my wall hangings by curtain clamps on a curtain rod. Three quilts would take too many curtain rods, so I bought some black push pins and tacked them all to the wall.

Voila!
Lots and lots of fun little birdies, that are quiet and don't make a mess.

Next time: Pumpkins and Crows, an applique quilt with an actual pattern!

Wednesday, February 13, 2013

Patriot Quilt

Some of my quilt designs are original and some are variations of patterns I've found in a magazine or online. I really do prefer to design my own quilts. That is the fun part for me and I don't make quilts just to make them. However, adapting an existing design has it's own challenges that can keep the process from getting boring.

Today's wall hanging quilt is a variation of the Three Tours quilt by Tony Jacobson that was featured in Fons and Porter's Love of Quilting magazine in the March/April 2012 edition here

The original has seven blue stars and fourteen double stars with some difference in the color choices and the finished size is 70 x 78 inches. In shrinking and reducing the design I had to draw the entire design out and figure out the relative size of each piece. The process was not unlike the logistical stage of an original design, and therefore, interesting.

This is my version. The finished quilt is 26 X 36.5 inches.


There are five of the blue and white stars,

 and ten of the red, white, and blue double stars.

Each finished star square is 5.5 x 5.5 inches and each red stripe is made from two or three strips of the two red fabrics for dimension. The white stripes are not pieced and alternate between the solid white(from an old sheet) or the printed white.(Which is unfortunately very hard to photograph.) Each finished stripe is 1.5 x 19.5 inches.
 

There are two red, two blue, and two white fabrics included. I try to only use fabrics from my stash whenever possible and was able to keep from buying anything new for this quilt. In fact the backing is a blue waffle knit left over from another quilt. I have no qualms mixing knits with woven fabrics if I can get away with it without too much distortion in the design. This knit was fortunately not too stretchy to use.

I could hang this quilt for every patriotic holiday, but last year I just had it up from Flag Day through the end of July.

Tuesday, February 5, 2013

Summer Grass Quilt

We have a gorgeous field with tall grasses behind our yard. It's occasionally used for a cow pasture, but I've seen many kinds of wildlife there. For me, looking out the window is like having a landscape wall painting that's always changing. 

Last summer I wanted a wall hanging quilt  to fill in between my patriotic July quilt and my autumn quilt. I designed a pieced quilt with tall uneven grasses like the field. My design originally had very straight, equally spaced pieced lines for the grass with applique flowers and bugs and a pieced sun.


I changed the design a few times, but wasn't happy with the grass piecing and  the curved sun pieces, I decided to drop the flowers and the sun and go for a simplified design. I used a single background 25.75 x 20 inch piece of faintly striped yellow fabric. Then I used four colors of 3/8 inch grosgrain ribbon for the grass. I used the stripes of the background design to align the ribbons. I then machine sewed down the middle of each ribbon to place it. This also gave the ribbons a wavy look. I decided I didn't like the equally spaced grass and added more in between the some of the existing grass blades. Everything but the grass is hand sewn.

I'm including close up shots since the details are hard to catch from a distance.

I used scrap pieces of black cotton knit fabric for the base of the bee, fly, and ladybug, then buttons for body color on the bee and fly. The bee's stripes are made with embroidery floss. The inch worm was the easiest with buttons and buttons alone.

 I quilted around every blade of grass, without stitching them down so the sides stick out a bit to give dimension. I used yellow quilting thread on the background and black thread for the bee and fly flight pattern stitches.

 The ladybug and butterfly wings are rough edge applique. the butterfly's body has layered buttons and the wings are quilted with white thread. The antennae are embroidered in black.

The finished quilt: Summer Grass
Next time: patriot pieced quilt.

Wednesday, January 30, 2013

Quilt Brag

Earlier this year I paid off my car. I then promptly celebrated by asking for less hours at work. Since then I've been working an average of three days a week. I keep myself busy the rest of the time with in home crafts such as quilting, drawing, refinishing furniture, and occasionally cleaning and cooking.

I would love to give tutorials on my projects (since that is the kind of blog I like to read) but it never occurred to me to take process pictures. I'll try to remember in the future, but for now I'll just give the finished project picture and anything else useful I can find.

I've been quilting since I was eleven. Mom taught me how to tie quilts before that. but the first hand stitched quilt I ever worked on was a wedding quilt for a close family friend. It took us a long time to finish even though it was in the Living room and a disruption to family space. I think we gave it to our friend for her second anniversary (not the last time that would happen with family wedding quilts).

I learned to sew on a machine in seventh grade home economics class. Mom had tried to teach me earlier but our personality conflicts had ended that experiment. Mom became my sewing tutor instead and has been my encyclopedia ever since.

I designed my first quilt at seventeen out of denim. It was a square patch tied quilt and weighed so much I couldn't use it and eventually gave it away as a picnic quilt.

I've made a bazillion quilts since then (actual number) I've given away many of them and don't have pictures of the majority. I learn as I go and I usually design them myself, which is the fun part for me, but it means  I have to learn a lot of things the hard way. I don't actually know how to read an official quilt pattern. I'm very visual and I design my own on grid paper or on the computer.

Okay, I've been going on way too long.

This is an original wall hanging design of intertwining snakes incorporating triangles, an in places asymmetrical diamonds(kite shapes) to save time.
Two Snakes.

The finished size is 24 x 30 in. 
Here are close-ups of the snake heads


I can't find a name for this quilt pattern, I think of it as a pinwheel but that name is already in use for another design. It's basically an octagon inside a square and the octagon has been equally divided into triangles. So you have eight 4 1/8 x 4 1/8 x 3 1/4 in. Isosceles triangles and four 2 5/8 x 2 5/8 x 3 5/8 in.  right angle triangles per square. (measurements include a 1/4 in. seam allowance) Each side of each finished square measures 6 1/4 in. there are twenty squares in the design. 

I guess I could call it the Stop Sign. The fun of designing Two Snakes was to see how many fabric squares of different combinations of value (light, medium, and dark) I could put in my wall hanging and still have a cohesive overall design. The original pattern was done in pencil with ink added for the dark areas. I then used  the two red, two yellow, and two green fabrics from my stash and grosgrain ribbon for the snake tongues.

Next time: Grosgrain ribbon + buttons+ a little fabric= summer grass and bugs.